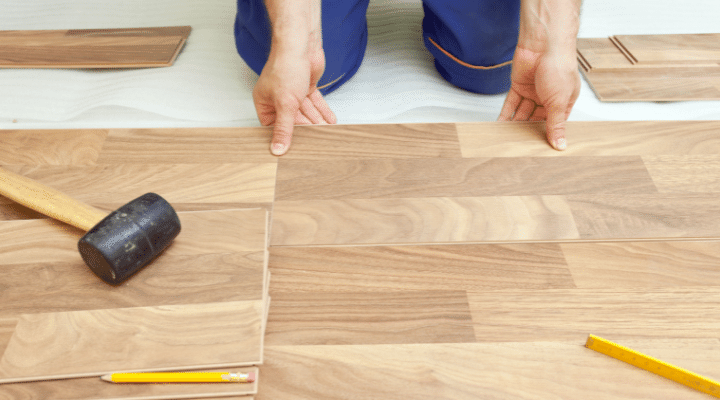
Luxury Vinyl is not only durable, tough, and beautiful-looking, it is also one of the easiest flooring types to install. Most homeowners choose lvt charlotte NC owing to the ease of installation because they get to do it themselves and very inexpensively.
Of all the DIY flooring materials, this one is the easiest to cut and install. Vinyl plank flooring is usually installed in high-moisture and high-traffic areas such as bathrooms, kitchens, and basements.
How to Install Luxury Vinyl Plank Flooring?
This floor covering snaps together with the edge-to-edge and end-to-end, and can be installed in a matter of hours. Follow this step-by-step guide to install the LVT flooring.
Flooring Layout
Like some other floor coverings, LVT also needs to have a layout that looks visually appealing. Start from the most visible and prominent wall and then work outward toward the entrance. Call some other flooring contractor like luxury vinyl flooring contractor who brings out the beauty of your flooring.
Lay the first row of vinyl planks on the most visible wall and proceed to the other parts of the room. Stagger rows so as end joints do not fall at the same point for adjacent rows (offset by about 6 inches from row to row).
Remove the Trim
It is best to remove the trim moldings including baseboards, base shoe moldings, and case moldings for ease of installation. If it is not possible to remove door trim then cut the vinyl planks to fit around these obstacles.
Trim moldings are easy to detach, if still in good shape after removal, they can be reinstalled after the flooring has been installed.
Sand Down The High Spots
It can be installed over the existing floor, however, there is a need to create a flush surface for the floor to install. Find any high spots in the room, sand down those spots with a belt sander for a smoother surface.
Fill in the Low Spots
Find the low spots, fill depressions with a floor-leveling compound, and feather it out with a trowel.
Measurements
Before you begin installing vinyl planks, measure the width of the room and divide it by the width of the exposed portion of the plank.
Test-Fit The First Row of Planks
Place the first row of vinyl planks down the length of the wall for testing. For a visually appealing flooring layout, the planks need to be of equal length at the opposite sidewalls.
Start from the center of the wall and work towards each side, so that the planks at the opposite ends would be of equal size. Leave 1/4-inch to 3/8-inch of expansion gap between the flooring and the wall for planks to expand freely.
Cut Planks
The cutting procedure of this flooring material is similar to drywall panels. Utilize a carpenter’s square and utility knife to cut the planks. If not a utility knife, the fine-tooth handsaw cuts straight through the plank with absolute ease.
Connect The Flooring Planks
Snap the flooring planks using a fold-and-lock type of tongue-and-groove system. Connect the first row of flooring planks from end to end and proceed across the floor with successive rows.
Install the Final Plank
Cut planks of appropriate size to fit them around obstacles, the last row of plank need to be trimmed and cut lengthwise to fit.
In brief, LVT flooring is not only easy to install but flexible enough to fit around different protrusions.
Leave a Reply