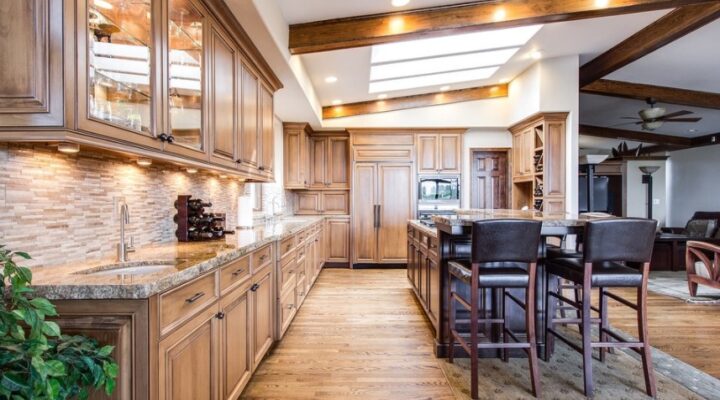
Installing a kitchen splashback can be a daunting task. But with the right tools and some careful planning, it can be an easy job that anyone can do. This article will show you how to install a kitchen splashback using simple step-by-step instructions. So let’s get started!
Tools and Materials Needed:
- Tape measure
- Pencil
- Level
- Marker or chalk line
- Tile saw or wet saw
- Spacers (optional)
- notched trowel
- Bucket
- Rubber grout float or sponge float
- Grout (colour of your choice)
Kitchen Splashback Installation Steps:
1- Measure the area where you will be installing the splashback. Use a tape measure to get the dimensions of the space and make sure to write them down. It is also a good idea to sketch out a rough design of your splashback on a piece of paper so you can visualise how it will look.
2-Mark the outline of the splashback on the wall using a pencil or chalk line. Use a level to make sure that your lines are straight.
3- Now it’s time to cut the tiles. If you are using ceramic or porcelain tiles, you will need to rent or purchase a tile saw. For glass tiles, you can use a regular wet saw. When cutting the tiles, be sure to wear safety glasses and gloves.
4- Once all of the tiles are cut, it’s time to start installing them. Begin in one corner and work your way out. If you are using ceramic or porcelain tiles, you will need to use spacers between each tile to ensure that they are evenly spaced.
5- When all of the tiles are in place, you will need to grout them. Mix the grout according to the manufacturer’s instructions and then use a notched trowel to apply it to the joints between the tiles. Use a rubber grout float or sponge float to spread the grout evenly and then wipe away any excess with a damp cloth.
6- Allow the grout to dry for at least 24 hours before using the splashback area. Once it is dry, you can enjoy your new kitchen splashback!
What Is The Best Material For A Kitchen Splashback?
There are many different materials that can be used for a kitchen splashback, but the most popular choices are glass, stainless steel, acrylic and tile. Each material has its own advantages and disadvantages, so it’s important to choose the right one for your needs.
Glass splashbacks are very easy to clean and maintain, but they can be quite expensive. Stainless steel splashbacks are more affordable, but they’re not as easy to keep clean. Tile splashbacks are a good compromise between the two options, offering both durability and ease of cleaning.
No matter what material you choose, make sure that it’s properly sealed so that it doesn’t absorb spills and splashes.
Installing a kitchen splashback is not as difficult as it may seem. With the right tools and a little bit of patience, you can have your new splashback installed in no time. We hope this article has helped to clear up any questions you may have had about installing a kitchen splashback and that you are now ready to get started on yours!
Leave a Reply