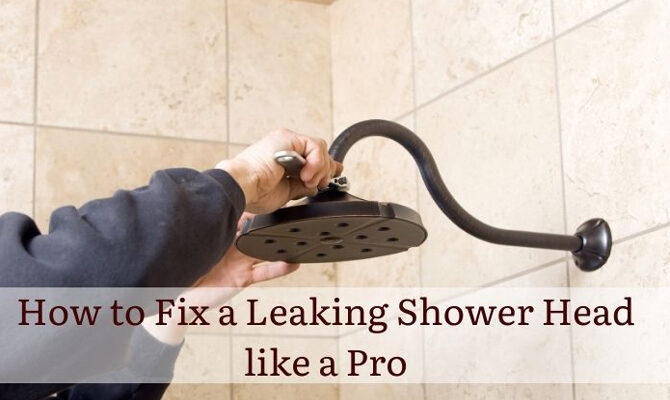
Tired of hearing the dripping sound from the shower head as that’s continuously disturbing your sleep? Well, it has a lot of other downsides as well, such as a huge spike in the water bills.
The water may drip in drops, but it can lead to wastage of hundreds of gallons every month. Fixing a leaky shower head is not a task, and you can do it quickly without having a plumber aboard.
Here is a DIY guide to fix a leaking shower head like a pro:
Why Does a Shower Head Leak?
Why does a shower head leak, and what’s responsible for that continuous drizzle that’s making your bathroom wet all the time? Well, the foremost reason is the worn-out seal or O-ring.
The purpose of the O-ring is to keep the water inside the shower head when the valve isn’t turned on. In some cases, the gasket fails to serve its purpose, and as a result, water starts leaking from the shower head.
Another reason for water leakage is mineral deposits. The blocked nozzles lead to water leakage, and the water starts dripping from the sides of a shower head.
DIY Guide to Fix a Leaky Shower Head
Whether you have a leaky regular or a handheld shower head, you can follow the below-mentioned tips to get rid of the leakage.
Step 1: Gather the supplies
You need multiple supplies to fix the leak, so it would be great to have them in one place before you start repairing the shower head.
Here are the supplies you need to fix the leak:
- A towel
- Pliers
- Plastic washer
- Rubber o-ring
- Crescent wrench
- Large bowl
- Old toothbrush
- Teflon tape
- Distilled white vinegar
- Screwdriver
Step 2: Turn Off the Water Supply
Before you unscrew the shower head and start fixing the leak, it’s essential to turn off the water supply. The water will ooze out with immense pressure, and it can make the entire bathroom wet.
Just turn off the valve, and start repairing the shower head.
Step 3: Remove the Shower Head from the Shower Arm
Now take a towel and unscrew the shower head from the shower arm. Usually, most shower heads have a nut that holds the head with the arm.
Use a screwdriver and unscrew the nut to take the shower head out of the arm.
For removing the head from a handheld shower, use an adjustable wrench. Grasp the shower head using a towel and unscrew the nut to remove it from the hose.
Step 4: Clean the Shower Head
It is crucial to clean the shower head before you access the innards. Use pliers to remove the plumber’s tape and any mineral deposits. If there are any signs of damage, it is advised to go for the new shower head.
Step 5: Replace the O-ring or Washer
This is the biggest reason why a shower head leaks. When the O-ring wears out, it fails to stop the water inside the shower head, and as a result, it starts leaking. Inspect the O-rings and washer and remove them if they have worn out.
Place the new O-ring in place, and secure it with Teflon tape. Using the tape is essential to keep the O-ring in place and to fill the gaps so that water cannot leak from the shower head.
Step 6: Rinse the Shower Head
Before you reattach the shower head back in its place, it is necessary to clean it thoroughly. Take some vinegar and water in a bowl and submerge the shower head in it. Now scrub the nozzles with an old toothbrush to clean the shower head thoroughly.
Vinegar cleanses the mineral deposits, and it reduces the risks of water leaks in the future.
Step 7: Reinstall the shower head.
Now reinstall the shower head after cleaning it properly. Attach it with the shower arm and screw the nut with a screwdriver. If you have a handheld shower head, use a wrench to attach it to the hose.
What if the water still leaks from the shower head?
If the water is still leaking even after following the above-mentioned tips, it is advised to look for a replacement. You can consider a Speakman shower head, as they are highly durable, have exquisite looks, and are great for every bathroom.
Final Thoughts
With this DIY guide, you can fix the leaking shower head without professional help. Fixing a leak isn’t a job that can cost you hundreds of dollars. Just follow these steps properly, and you can fix the leakage.
There are not a lot of parts inside a shower head, and that’s why fixing a leak is easy. Some folks remove the flow restrictor from a handheld shower head, and it starts leaking.
If you have also encountered a similar issue, put the flow restrictor back or try replacing the O-ring if it’s damaged.
Author Bio:
Hello, this is Richard, working as a Sr. Editor for BathAdvisors. I assist the writers in creating article outlines, structural edits, and proofreading. I also contribute to BathAdvisors through my blog posts. I spend my pastime reading books and gardening.
Leave a Reply