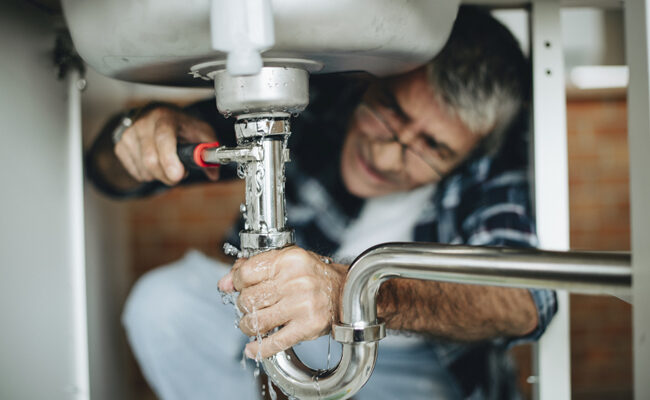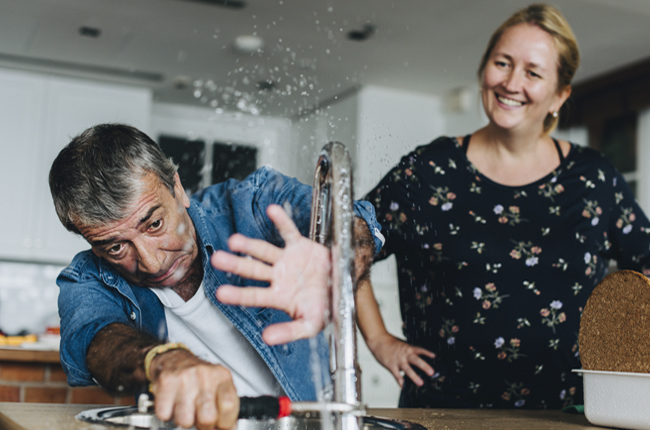
Most homeowners enjoy taking on a do-it-yourself job. The process is thrilling and enjoyable until things go awry, particularly when completing a fairly complicated project like plumbing.
DIY Plumbing Blunders
With a few specialized pieces of equipment, you can take care of several home plumbing problems and even upgrade your piping systems. Physically, the job might not be strenuous. However, although most plumbing tasks appear to be straightforward, they can escalate and require more complex and demanding actions, especially when one makes a mistake.
If attempting any DIY repairs seems too daunting, you could always seek the assistance of a skilled plumbing contractor to ensure the work is completed correctly. They may also offer discounts on their services, such as Main Line clean out specials and other promos like it.
The following are the most often committed plumbing errors by DIYers:
1. Lack Of Planning
DIYers often underestimate the value of making essential preparations, such as having the appropriate tools or spare parts on hand. Repairing a plumbing issue without fully understanding the extent of the job, including the cost, project duration, and potential setbacks, may result in expensive damage.
Consider a damaged washer as an example. Certain individuals may believe that all that is required is to change the washer. However, they may not be the only components in need of replacement. Failure to repair other damaged components may result in a leaking faucet. Be sure to check the whole plumbing system before starting the repair.
2. Not Turning Off the Water Supply
While shutting off any flowing water supply seems to be the obvious first step in resolving a plumbing issue, it’s also extremely easy to overlook. If you do even the simplest plumbing repairs without first shutting off the water system, you’re practically inviting mishaps.
Because of this mistake, a simple do-it-yourself job may quickly devolve into a costly catastrophe. Don’t forget the damage created when water pours freely after disconnecting a fixture. When this happens, each minute you waste rushing about attempting to shut off the valve causes growing harm to your home’s flooring and walls.
3. Overusing Chemical Drain Cleaners
While chemical drain solutions are sometimes helpful in clearing small blockages, they frequently cause more damage than good. Over time, the chemicals in these solutions may do considerable harm to pipelines and fixtures.
When used excessively, they may even accumulate around the blockages they’re intended to remove. This may pose a toxic hazard to anybody who comes into touch with them. Furthermore, vapors from such chemicals may recirculate up the drain, posing a respiratory danger.
When dealing with blocked drains, it’s recommended to use organic cleaning solutions. You can use baking soda, vinegar, and hot water. If the blockage continues, remove it manually with a drain snake. If none of these techniques works, it’s best to contact an expert plumber.
4. Mismatched Pipes
Plumbing makes extensive use of a variety of pipe materials. Determining which kind of pipe to install where may be perplexing for a DIYer. While some pipes may be connected using specific connectors, this is seldom optimal and always risks leakage. Others pipes should also never be combined.
Very often, DIYers will just put together incompatible pipes and patch up the gaps with adhesive or silicone. It’s generally preferable to replace existing pipes instead of linking them to a new type of pipe.
Cast iron pipes are common in older homes. Previously these cast iron sewer lines were repaired using tedious and destructive methods. Cast iron pipes usually fail to reach the end of their 50 – 100 year life-use. So PVC is a viable option for replacing rusting or old pipes as there are multiple benefits of replacing cast iron pipe with PVC.
5. Incorrect Fixture Placement
Changing a toilet may seem to be a straightforward task, and it often presents few concerns. As long as you don’t forget to turn off the water pipes and drain the water inside the tank, the procedure is fairly simple for an eager DIYer. But, in certain instances, the new toilet may not fit as perfectly into the area formerly covered by the old toilet.
Typically, the cause is an inaccurate rough-in or the calculation that establishes the distance between the completed wall and the closest ground bolt on the toilet. If you’re can’t get a toilet that fits the area, you may be forced to relocate the drain, which may be a significant and costly undertaking.
6. Overtightening Connections
Most DIYers are aware that plumbing connections must be impenetrable. What people may overlook is that the majority of connections form a watertight barrier. So, they proceed to tighten the connection to allow it to be more waterproof. This frequently results in damage to the connections and washers that form the barrier.
Additionally, excessive tightening may peel pipe threading and fracture plastic fittings, making the connection inoperable. Though connections ought to be tight, avoid pushing anything beyond the limit. Attempting to undo an overtightened connection may result in severe damage, including eroding the fittings to the extent where they could only be removed by cutting the pipe.
7. Forgetting The Reinstallation Process

It’s not uncommon for a do-it-yourselfer to miss how to connect pieces back together. Therefore, while disassembling any plumbing, it’s necessary to maintain a benchmark from which the components may be readily reassembled.
8. Applying Thread Tape in The Wrong Direction
To function correctly, thread tape, often referred to as Teflon tape, should be wrapped clockwise around threads. However, many do-it-yourselfers wrap it incorrectly, which causes the tape to unravel when tightening the fitting. That contradicts the function of tape, as it’ll not seal until it is embedded in the threads.
9. Using Extra Strength on Stuck Shut Off Valves
When left unused for long periods, shut-off valves often lock. If you’re unable to move the knob manually, don’t assume that exerting additional strength would fix the issue. Adding extra muscle to the knob may cause it to break. Not only that, the valve stem may snap as well.
The solution here is to use an adjustable wrench. This will allow you to spin the knob by loosening the stem nut sufficiently to release the connection. When you’re finished, tighten the stem nut and double-check for leaks.
Conclusion
As exciting as it may be to attempt a plumbing job without the assistance of an expert, you can understand why plumbers charge what they do. Their work is not as easy as they seem. However, if you’re determined to tackle a minor job, perhaps these suggestions may save you from making some of the most frequent do-it-yourself plumbing disasters.
Leave a Reply